


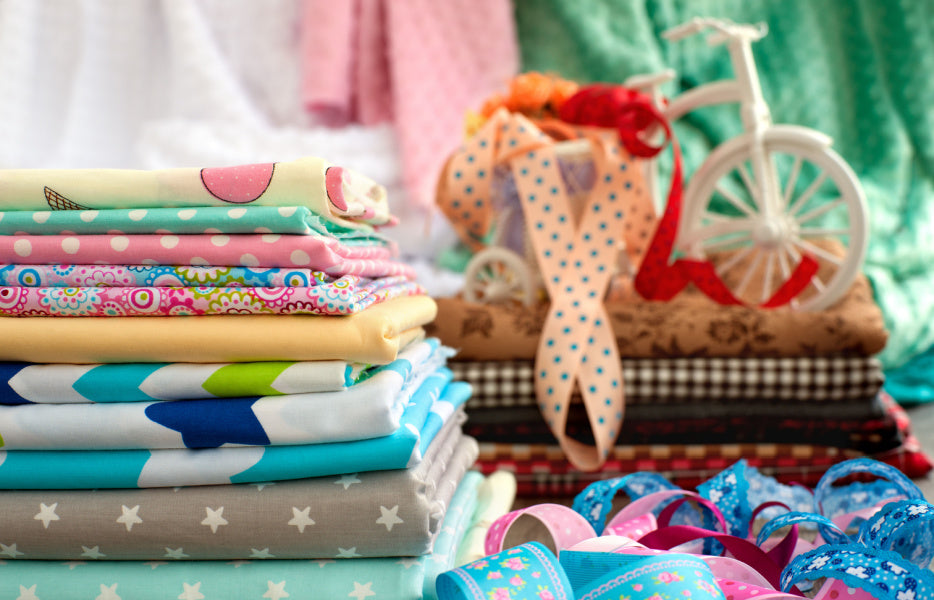


For those who love to sew, the world of sewing supplies and techniques is endlessly fascinating. One often-overlooked gem in the sewing world is bias binding. Bias binding is a versatile and essential tool that every sewist should have in their toolkit. It is a versatile and elegant sewing technique that can transform the edges of garments, quilts, and fabric accessories into polished and professional-looking masterpieces.
In this blog, we'll dive into the world of bias binding, exploring what it is, its various uses, and how to make and apply bias binding effectively, and tips and tricks to help you work with bias binding like a pro..
What is Bias Binding?
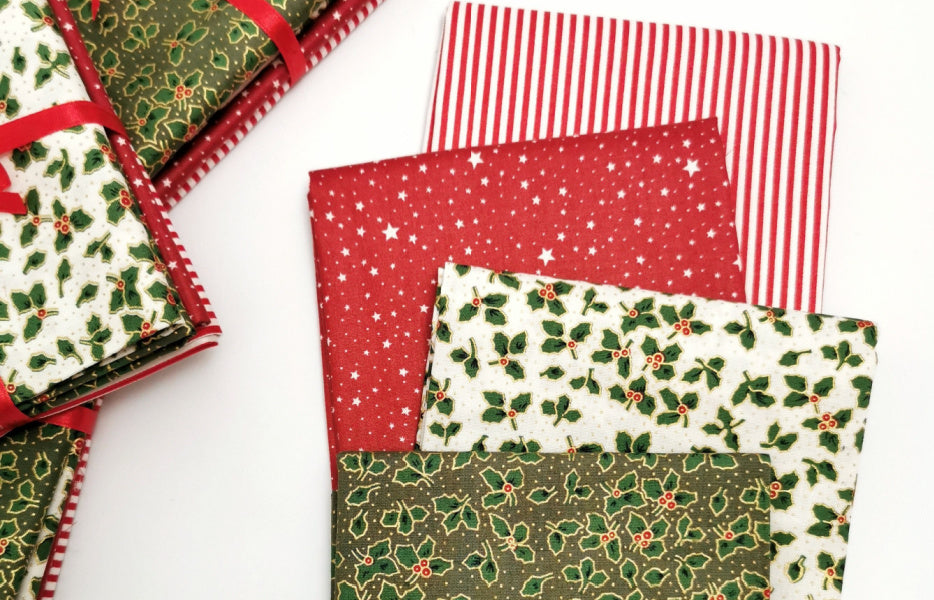
Bias binding, also known simply as bias tape, is a narrow strip of fabric cut on the bias, which means it's cut at a 45-degree angle to the fabric's grain. This diagonal cut allows the tape to have some stretch and flexibility, making it ideal for finishing edges, adding decorative touches, and binding raw fabric edges neatly. Bias binding can be purchased pre-made or made from matching or contrasting fabric, enabling endless creative possibilities.
Types of Bias Binding
-
Single-Fold Bias Binding: This is a single layer of bias tape, folded in half with the raw edges enclosed. It's commonly used for finishing curved edges, such as armholes and necklines.
-
Double-Fold Bias Binding: This type is folded in half twice, with the raw edges enclosed within. Double-fold bias binding is perfect for neatly finishing the edges of quilts, hems, and other straight or curved edges.
-
Continuous Bias Binding: This is bias tape that's pre-folded and often comes in a roll or folded package. It's convenient for quick applications, as it eliminates the need to create bias tape from scratch.
The Uses of Bias Binding


-
Finishing Edges: Bias binding is frequently used to encase and finish raw fabric edges. It adds durability and a clean, professional look to the edges of garments and projects.
-
Adding Decorative Elements: Bias binding comes in a variety of colors, patterns, and widths, making it a fantastic choice for adding decorative accents to garments, quilts, and home décor items.
-
Binding Quilts: Double-fold bias binding is a favorite among quilters for binding the edges of quilts. It not only secures the quilt layers but also provides a polished finish to the project.
-
Creating Straps and Ties: Bias tape can be used to make straps and ties for garments like aprons, dresses, and bags. It offers both functionality and style.
How to Make Bias Binding
-
Choose Your Fabric: Select a fabric in a colour or pattern that complements your project. Opt for lightweight and flexible fabrics such as cotton, silk, or rayon/viscose, as they are easier to manipulate and fold neatly. Avoid heavyweight or stiff materials, as they can create bulky or uneven binding.
-
Cut Bias Strips: Using a ruler and rotary cutter or scissors, cut strips of fabric on the bias. The width of the strips will depend on your project's needs.
-
Join the Strips: Sew the bias strips together at a 45-degree angle to create a continuous length of bias tape.
-
Press and Fold: Fold the bias tape in half lengthwise, wrong sides together, and press it with an iron to set the folds. To achieve crisp and accurate folds, press the bias binding strip in half lengthwise with an iron. Open it up and fold each long edge inward, meeting at the centre crease. Press again to set the folds. This process ensures clean and symmetrical edges when applying the binding.
-
Apply the Binding: Pin or clip the bias binding in place along the edge you want to finish. Stitch it down, making sure to catch both sides of the binding, and trim any excess.
-
Mitering Corners: When you reach a corner, stop stitching a quarter-inch away from the edge. Fold the binding diagonally, creating a neat mitered corner, and continue stitching from the next side. This technique gives your project a clean and professional appearance.
-
Finishing the Binding: Once the bias binding is stitched in place, fold it over to the wrong side of the fabric and press it neatly. You can either hand-stitch the folded edge in place or use a machine stitch for a secure finish. Be sure to stitch close to the edge to catch the folded binding on the back.
-
Experiment with Design: Bias binding isn't just limited to functional finishing. You can explore various creative techniques, such as contrasting binding on hems, adding piping within the binding, or incorporating decorative stitches along the binding edges. Let your imagination run wild and experiment with different colours, patterns, and textures.
Tips for Applying Bias Binding
-
Use an Adjustable Bias Binder Foot: This sewing machine foot is designed to help you sew bias binding evenly and precisely.
-
Practice on Scrap Fabric: If you're new to using bias binding, practice on scrap fabric before applying it to your main project.
-
Clip or Pin the Binding: To keep the bias tape in place while sewing, use clips or pins to secure it along the edge.
-
Stitch Carefully: Sew slowly and consistently to ensure the stitching is even and catches both sides of the binding.
While sewing with bias binding may seem daunting at first, armed with the right tools and techniques, you'll soon master this skill and unlock a world of creative possibilities. Let's explore even further of the extra tools and techniques you'll need to sew with bias binding successfully.
-
Bias Tape Maker: A bias tape maker is a handy tool that facilitates the creation of bias binding from fabric. It helps you fold and press fabric strips into uniform bias tape, which is essential for achieving neat, even edges. Bias tape makers come in various sizes, allowing you to create binding of different widths. They are available in plastic or metal, with the latter being more durable.
-
Rotary Cutter and Cutting Mat: When working with bias binding, precision cutting is key. A rotary cutter and cutting mat provide a reliable and efficient way to cut fabric strips on the bias. The bias cut ensures the binding has enough stretch to go around curves smoothly. Use a ruler or quilting ruler to guide the rotary cutter and create accurate strips.
-
Pins, Clips And Grips: Securing bias binding in place before stitching is crucial to achieve a clean, even finish. Traditional straight pins work well for most projects, but clips or binding clips can be more convenient when dealing with delicate or thick fabrics. These clips hold the binding securely without distorting the fabric, making it easier to sew accurately
-
Wonder Clips or Binding Foot: For those who prefer using clips, wonder clips are excellent alternatives to traditional pins. These clips have a flat back, allowing you to easily feed the fabric and binding through your sewing machine. Another option is a binding foot, a specialized sewing machine foot designed for attaching bias binding. It helps to guide the binding evenly and accurately as you sew.
-
Edgestitch Foot: An edgestitch foot is a valuable tool when it comes to sewing bias binding neatly. This foot has a guide in the centre, which helps you maintain consistent seam allowances and achieve a professional-looking edge stitch. It ensures that your stitching stays close to the folded edge of the bias binding, resulting in a clean and polished finish.
-
Iron and Pressing Tools: Pressing plays a vital role in sewing with bias binding. An iron and pressing tools such as a tailor's ham or pressing cloth are essential for achieving crisp, well-pressed binding. Pressing the binding before and after attaching it to the fabric helps ensure it lays flat and conforms to curves smoothly.
-
Hand Sewing Needles: While most of the work can be done using a sewing machine, there may be instances where hand sewing is necessary, such as closing the ends of bias binding or stitching it invisibly in certain areas. Having a selection of hand sewing needles in different sizes and lengths ensures you have the right tool for any hand stitching task.
Bias binding is a must-have tool in any sewist's arsenal. It's versatile, decorative, and practical, making it suitable for a wide range of sewing projects. Whether you're finishing edges, adding a pop of colour, or binding a quilt, bias binding can elevate your creations and give them a professional touch. So, next time you embark on a sewing adventure, consider incorporating bias binding to unlock its endless possibilities. Happy sewing!


