


Making a fabric bookmark is a fun and creative project that allows you to personalize your reading experience. Here's a step-by-step guide to make a simple fabric bookmark:
Materials you'll need:
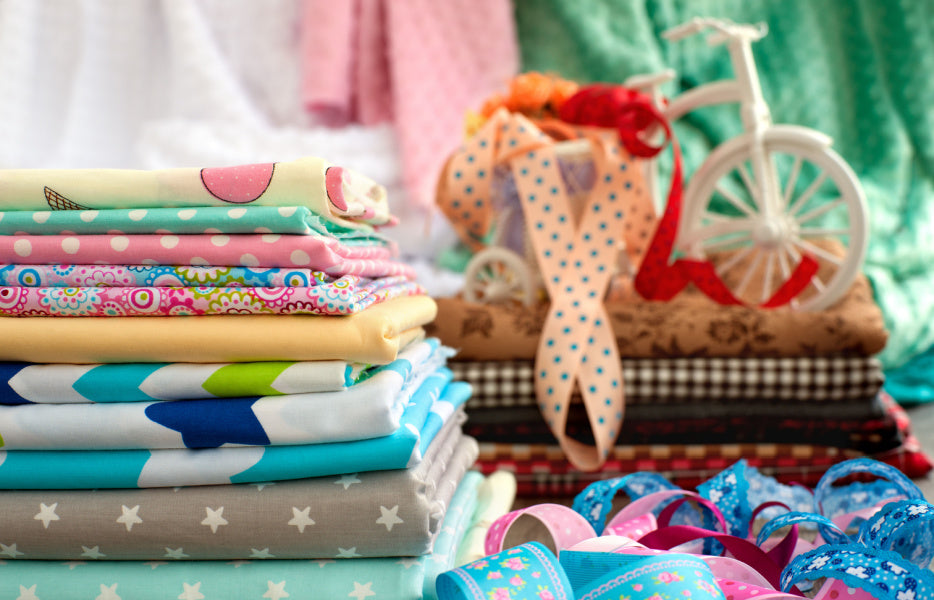
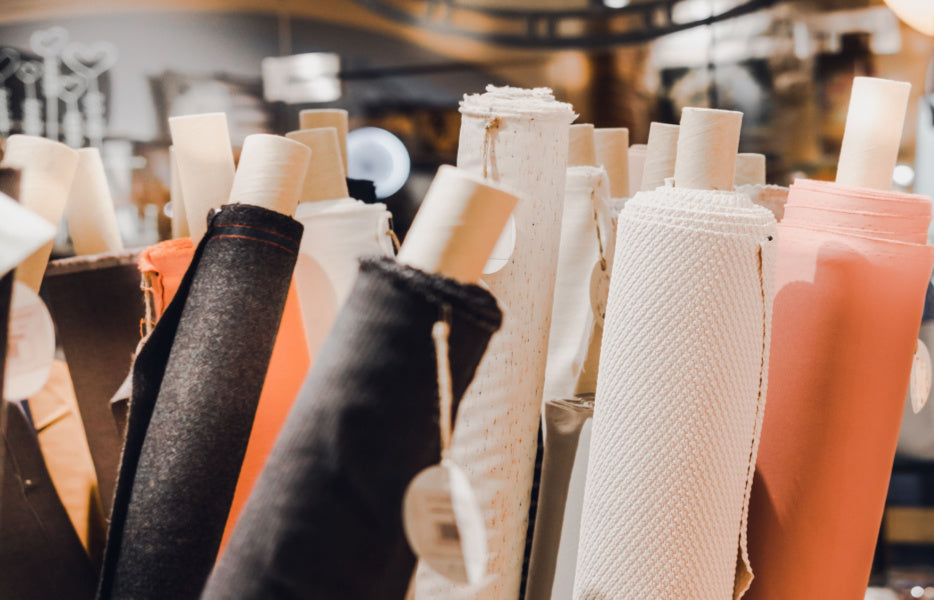
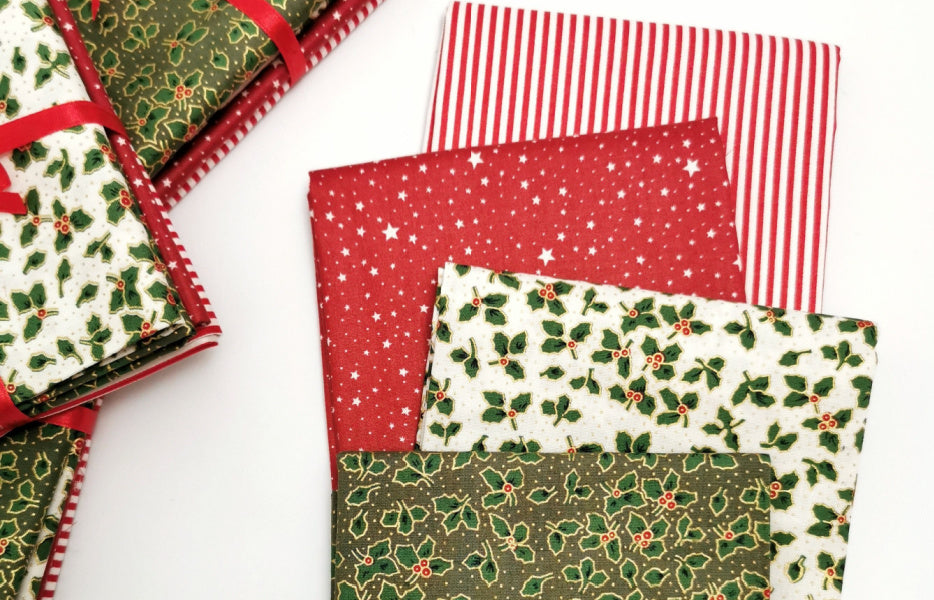
- Fabric scraps (cotton, linen, or any fabric of your choice)
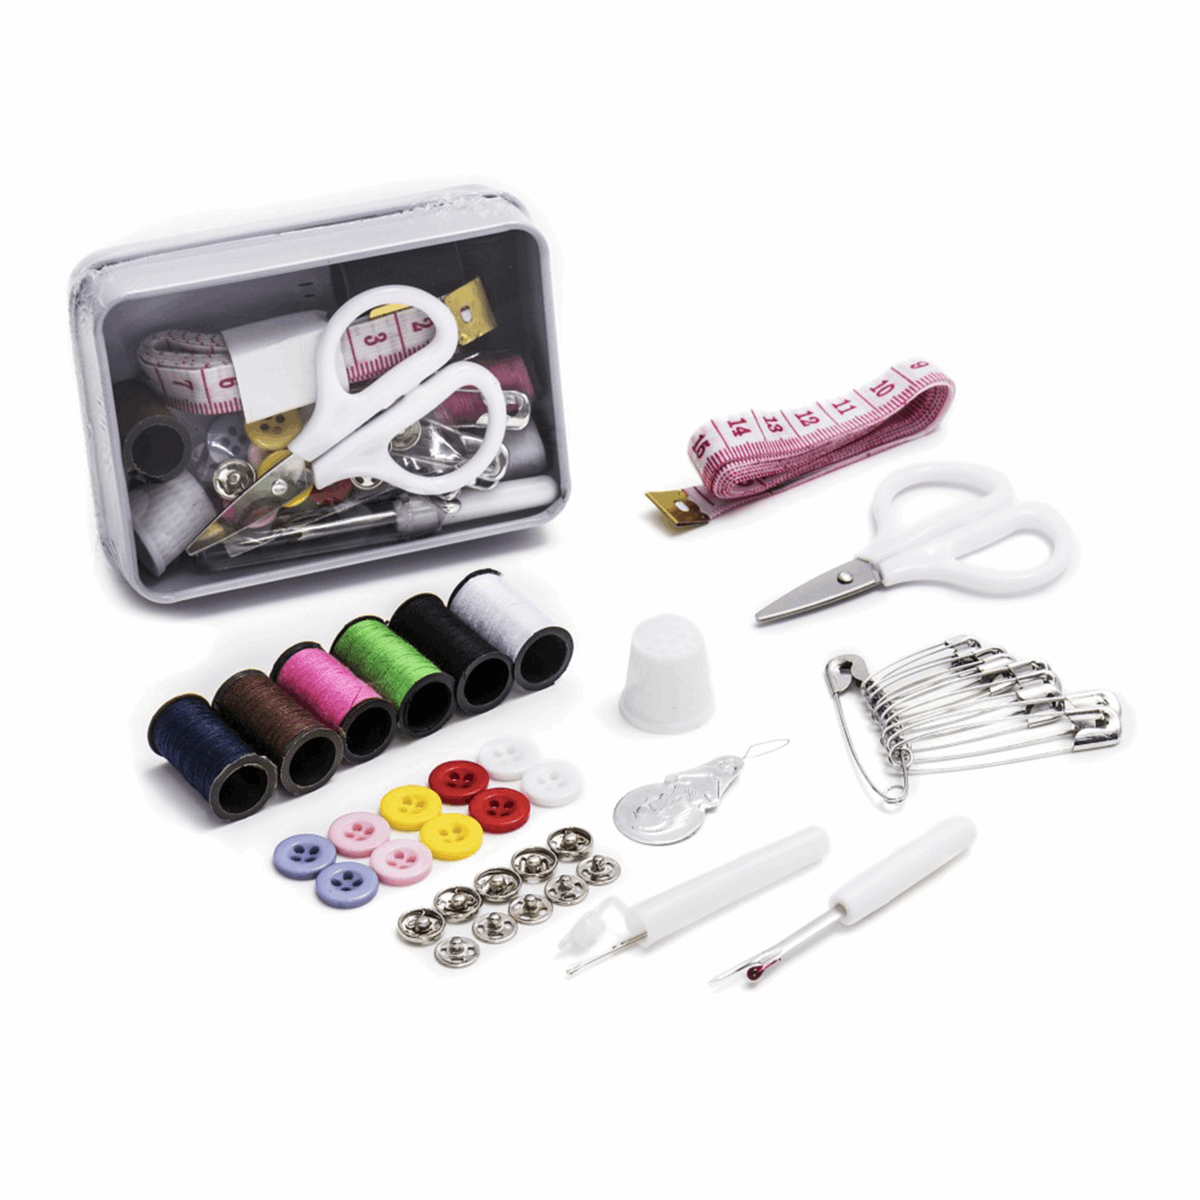
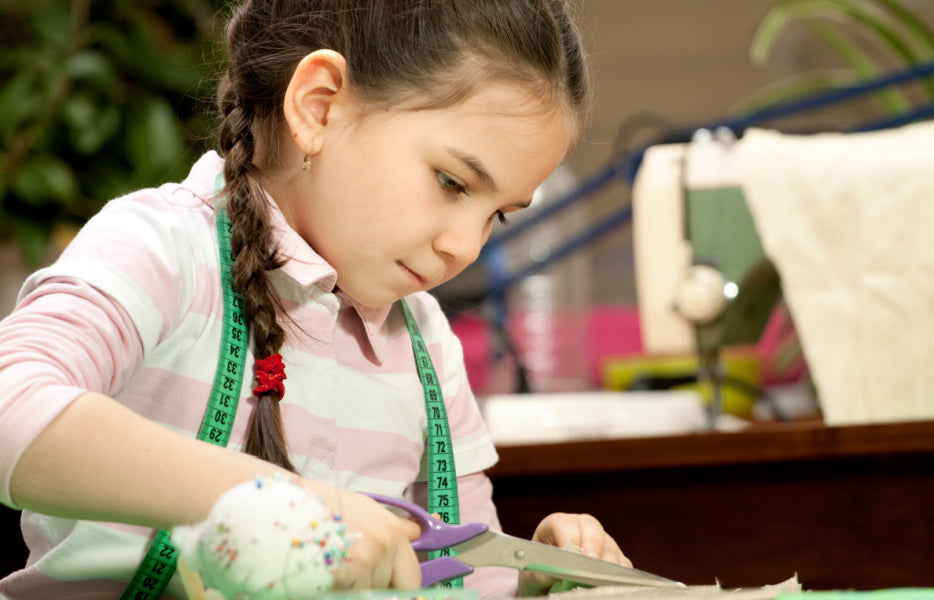
- Scissors
- Ruler or measuring tape
- Sewing machine or needle and thread
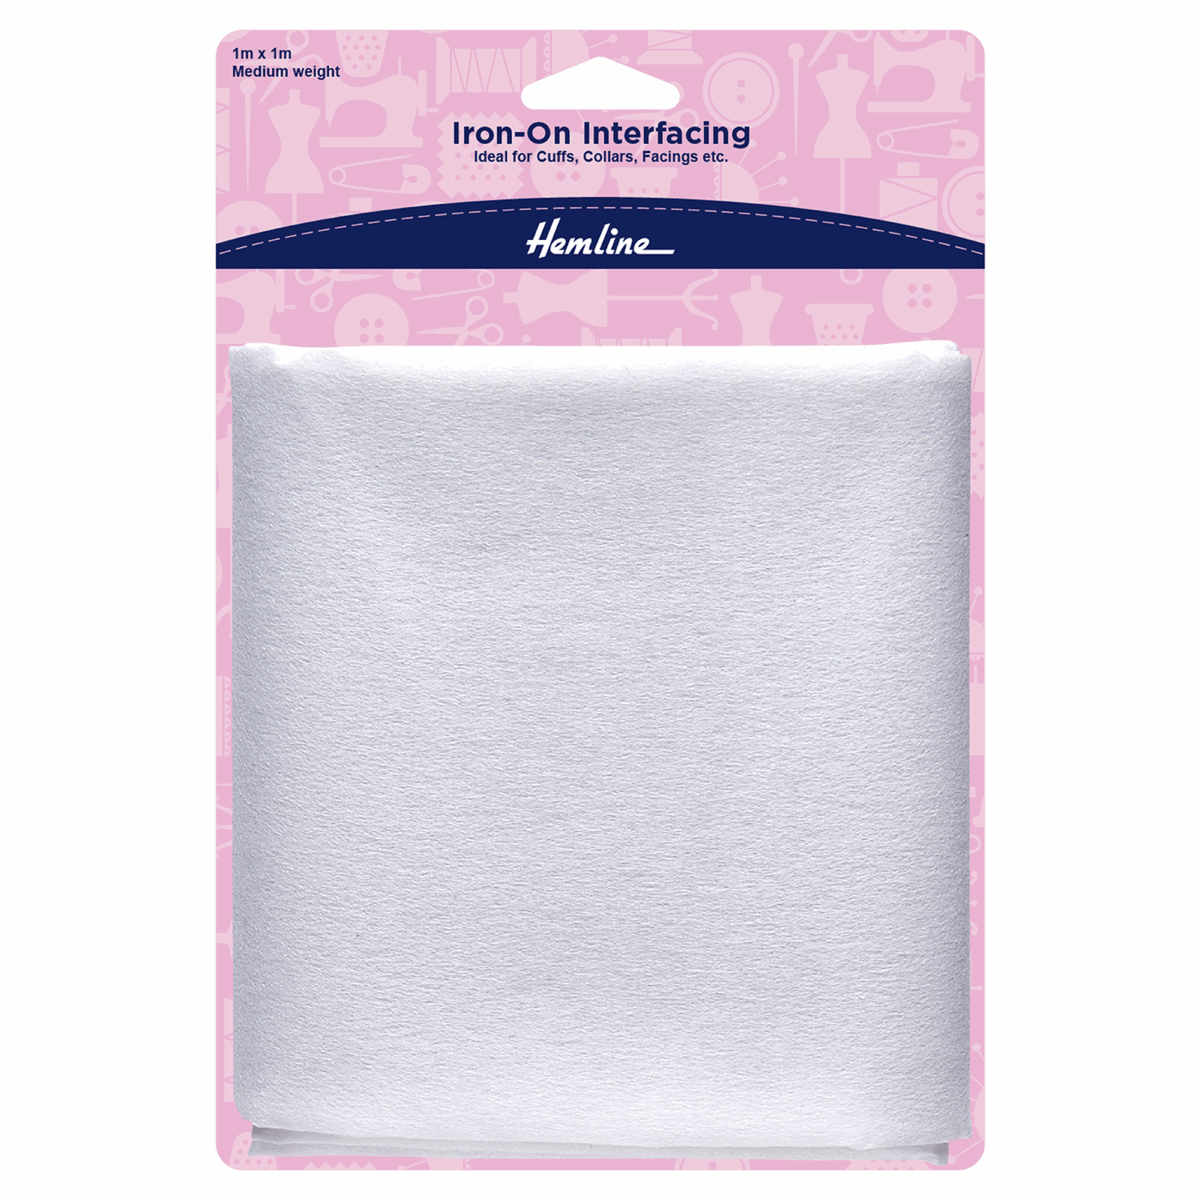
- Iron and ironingboard
- Fabric glue (optional)
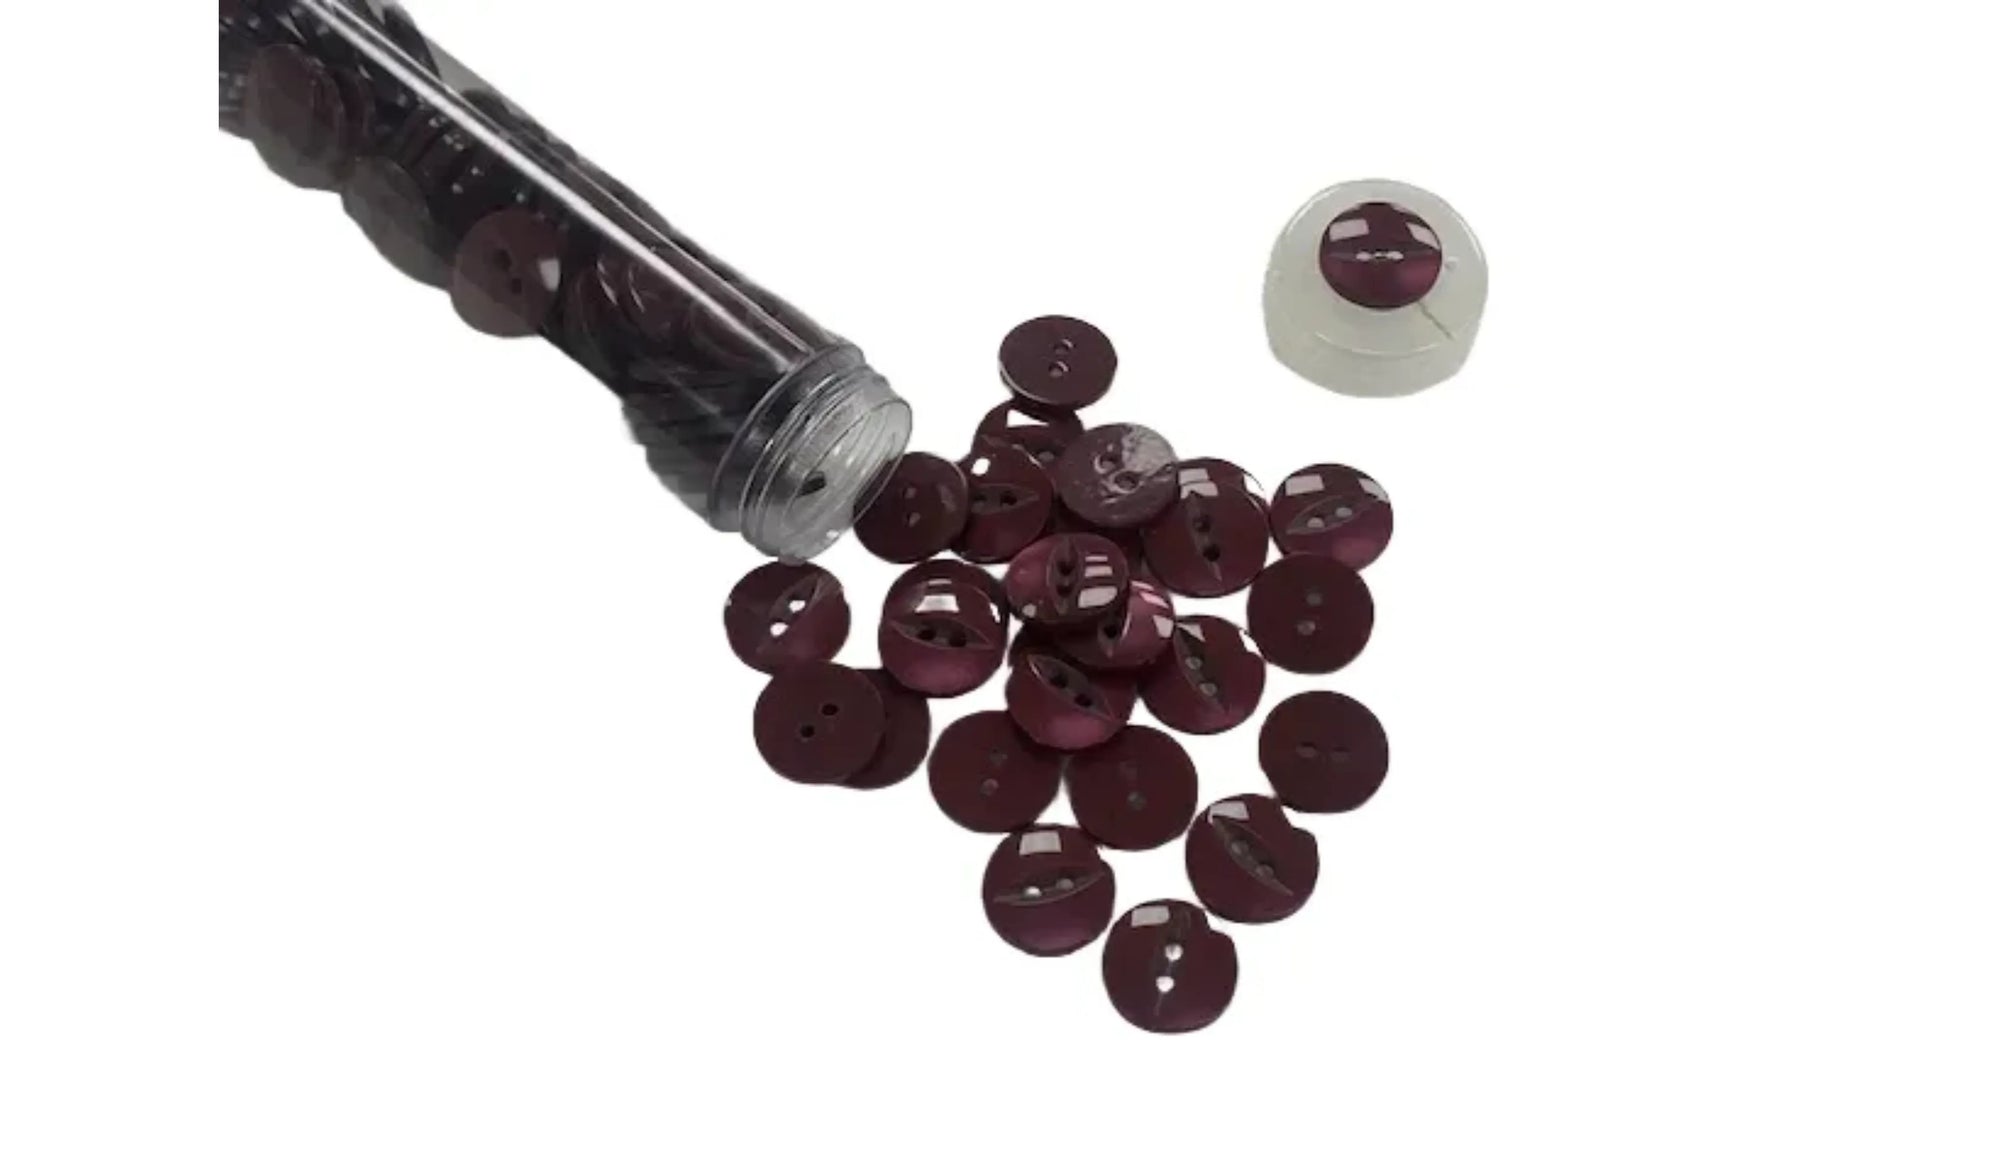
- Decorative embellishments (buttons, ribbons, beads, etc.) - optional
Steps:
-
Choose Your Fabric: Select the fabric you want to use for your bookmark. You can use a single piece of fabric or mix and match different fabrics for a more colourful design.
-
Cut Your Fabric: Decide on the size and shape of your bookmark. A standard size is about 2 inches wide and 6-8 inches long, but you can make it smaller or larger depending on your preference. Use a ruler or measuring tape to mark the dimensions on your fabric, and then cut it out.
-
Fold and Iron: Fold the fabric in half lengthwise with the right sides facing each other. Iron the fold to create a crease. This will be the centre of your bookmark.
-
Sew the Edges: If you have a sewing machine, sew along the open edges of the fabric, leaving a small seam allowance (about 1/4 inch or 0.5 cm) and making sure to backstitch at the beginning and end to secure the stitches. If you're sewing by hand, use a simple running stitch or backstitch to sew the edges.
-
Trim Excess Fabric: Trim any excess fabric and threads to tidy up the edges.
-
Decorate (Optional): This is where you can get creative! You can add decorative elements like buttons, ribbons, or beads to your bookmark. Sew or glue these embellishments onto the fabric. Be sure to let any glue dry completely before using the bookmark.
-
Personalize (Optional): If you want to add a personal touch, you can embroider your name, a favourite quote, or a design onto the fabric using embroidery floss or fabric markers and paint pens.
-
Finishing Touches: Iron the bookmark once more to ensure it lays flat and any glue has dried if you used glue for embellishments.
-
Use and Enjoy: Your fabric bookmark is now ready to use! Slip it between the pages of your book to mark your place.
Remember that this is just one basic way to make a fabric bookmark. You can get as creative as you want by experimenting with different fabrics, colours, and embellishments to make bookmarks that reflect your personal style and interests.